
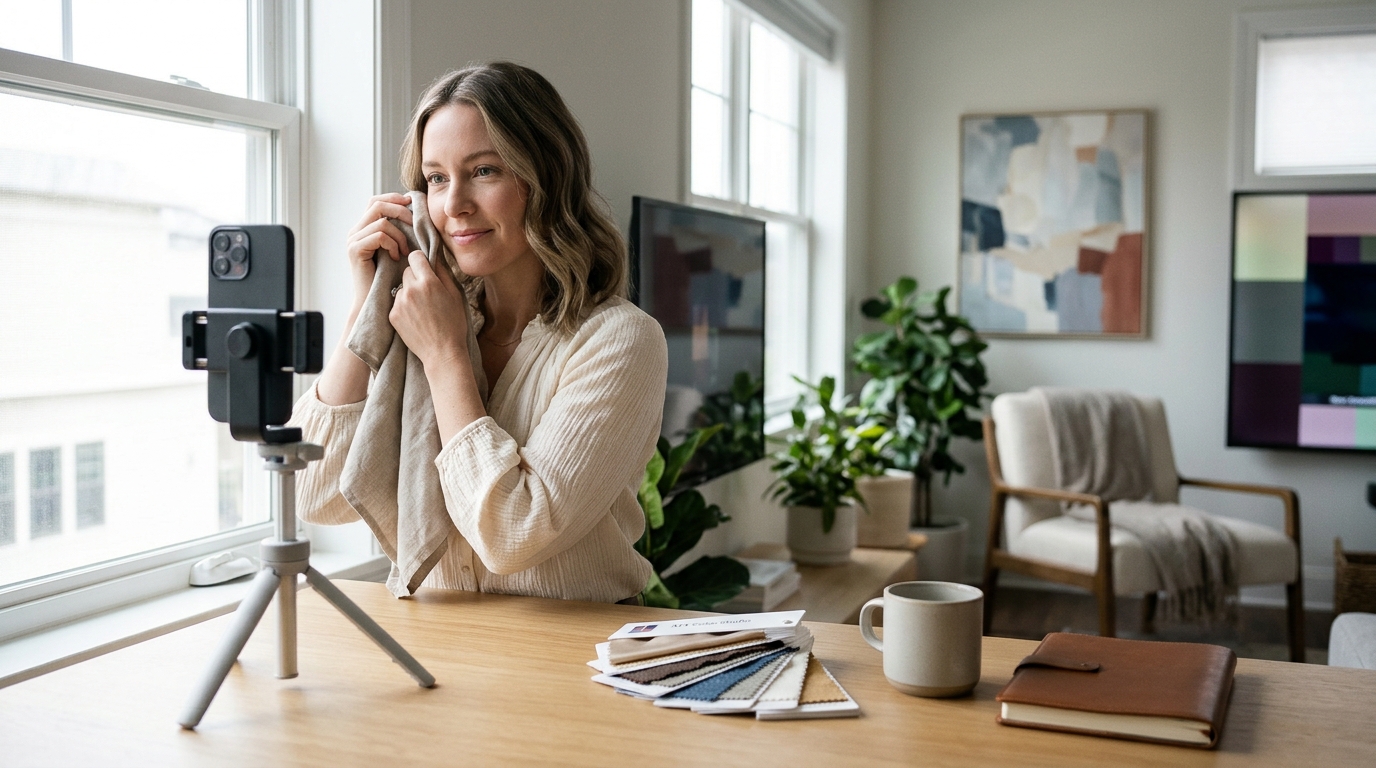
Accurate virtual color analysis depends on high-quality, unedited photographs that capture your true skin tone, undertone, and contrast. You need a smartphone or digital camera with a standard lens, positioned in bright, natural daylight without filters or makeup. ATX Color Studio relies on these specific visual inputs to determine your 23-Season classification and 35-Palette refinements. Proper preparation ensures the analyst sees exactly what you see in a mirror, leading to precise recommendations for clothing, makeup, and hair.
Lighting Conditions and Environmental Control
Lighting is the single most critical factor in virtual analysis. Artificial light, such as overhead bulbs or ring lights, often casts colored tints that distort skin undertones. You must shoot in natural daylight, ideally near a large window facing north or south to avoid harsh direct sunlight. Direct sun creates strong shadows and highlights that can mask your true depth and intensity. The goal is soft, diffused light that illuminates your face evenly. If you live in a region with limited daylight, use a large white reflector to bounce natural light onto your face. Avoid shooting at night or in dim rooms, as low light forces cameras to add digital noise and alter color balance.
Camera Settings and Device Specifications
Use the highest resolution available on your device, but avoid using digital zoom. Digital zoom crops the image and reduces quality, which can blur subtle skin details. Set your camera to the highest possible resolution and ensure the white balance is set to 'Auto' or 'Daylight.' Do not use filters, beauty modes, or editing apps. These tools smooth skin texture and shift color temperatures, making it impossible to assess your true undertone. A standard smartphone camera is sufficient if the resolution is high enough to see individual pores and hair strands. If using a digital camera, use the JPEG format rather than RAW, as RAW files require conversion that may alter color data. The key is consistency; take all photos with the same device and settings.
Preparation and Appearance Requirements
Your appearance during the photo session must reflect your natural state. Remove all makeup, including tinted moisturizers, tinted sunscreens, and self-tanners. If you have recently used a self-tanner, wait until it has fully faded before taking photos. Remove colored contact lenses and switch to clear lenses or glasses if you wear them. Hair should be pulled back away from your face to reveal your forehead and ears. This allows the analyst to see your natural hair color and scalp tone. Avoid wearing clothing with strong patterns or bright colors near your face, as these can reflect light onto your skin. Wear a plain, neutral-colored top that does not match your skin tone. This preparation step is non-negotiable for accurate results.
Photo Angles and Composition
Take photos from multiple angles to provide a comprehensive view of your coloring. Start with a straight-on headshot, looking directly at the camera. Your eyes should be open and relaxed. Next, take a profile shot of your left side and a profile shot of your right side. These side views help the analyst assess your contrast and depth. Finally, take a three-quarter view, turning your head slightly to the left and then to the right. Ensure your face is fully visible in every shot, from the hairline to the chin. Keep your expression neutral and avoid smiling broadly, as this can change the shape of your face and affect lighting. The background should be plain and neutral, such as a white or light gray wall. Avoid busy backgrounds that distract from your facial features.
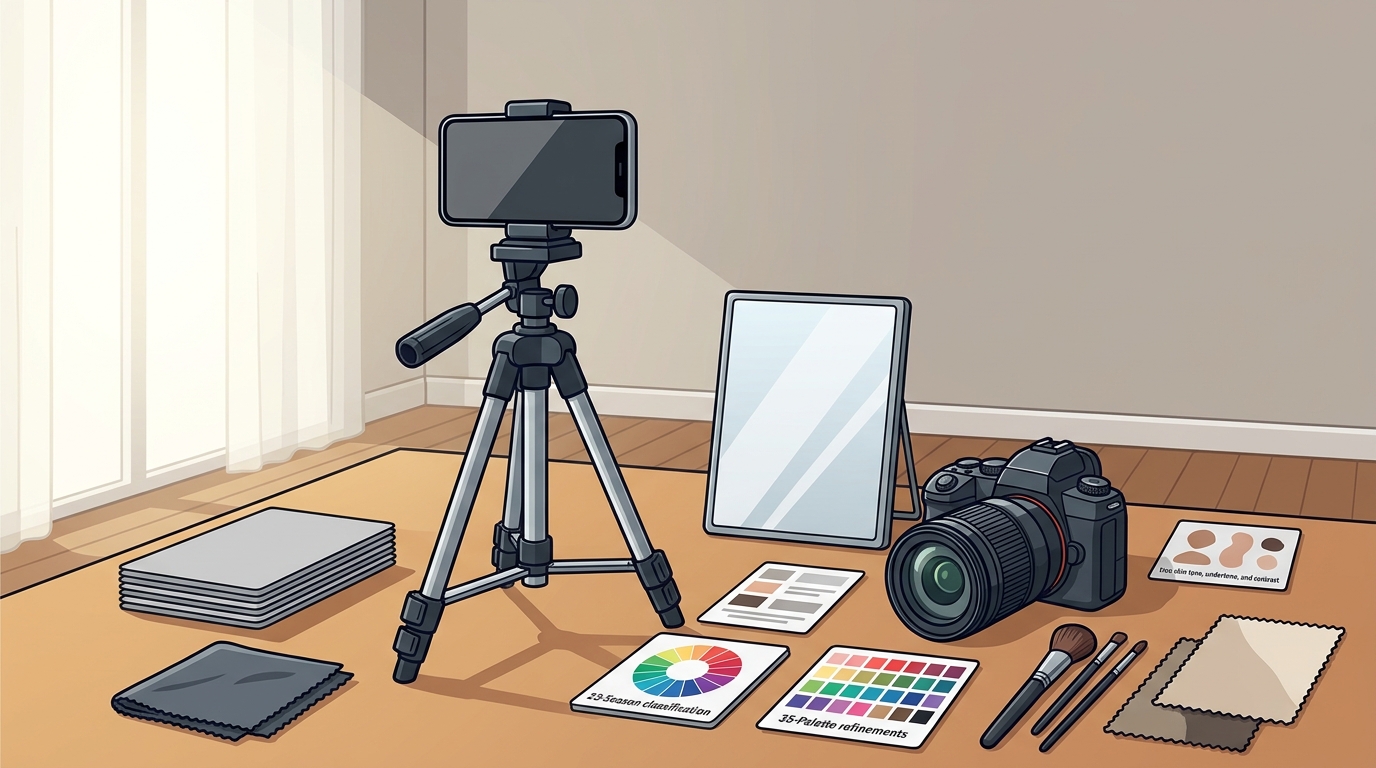
Common Mistakes to Avoid
Many clients make errors that compromise the accuracy of their analysis. One common mistake is taking photos in the evening under warm indoor lighting. This makes cool undertones appear warm and can lead to an incorrect season assignment. Another error is using a front-facing camera with a wide-angle lens, which can distort facial proportions. Use the rear-facing camera for the most accurate representation. Do not take photos in a car, as the glass and interior lighting create unpredictable reflections. Avoid taking photos in a bathroom, as the lighting is often harsh and unflattering. If you are unsure about your setup, take a test photo and review it on a computer screen to check for color accuracy. If the colors look off, adjust your lighting and try again.
Key Takeaways
- Use natural daylight near a window; avoid artificial and direct sunlight.
- Remove all makeup, self-tanner, and colored contacts before taking photos.
- Use the highest resolution setting without digital zoom or filters.
- Take photos from front, left profile, right profile, and three-quarter angles.
- Wear a plain, neutral top and keep hair pulled back.
- Review test photos on a computer to verify color accuracy.
Frequently Asked Questions
Can I use a ring light for virtual color analysis?
No, ring lights should not be used. They often emit a cool, bluish light that can distort warm undertones. Natural daylight is the only reliable light source for accurate color assessment. If you must use artificial light, use a large, diffused white light source that mimics daylight, but natural light is always preferred.
Do I need a professional camera?
No, a modern smartphone with a high-resolution rear camera is sufficient. The key is to use the highest quality setting and avoid digital zoom. Professional cameras are not necessary if you follow the lighting and preparation guidelines. Consistency in device and settings is more important than the specific brand of camera.
What if I have recently dyed my hair?
If you have dyed your hair, you must disclose this to the analyst. The analysis will be based on your current hair color, but the analyst may also consider your natural hair color if you provide a photo of it. If you plan to change your hair color, the recommendations will be tailored to your current state. Be honest about any recent changes to your appearance.
How many photos do I need to take?
You typically need five to seven photos: one front-facing, two profiles (left and right), and two three-quarter views. Some analysts may request additional photos, such as a full-body shot or a close-up of your eyes. Follow the specific instructions provided by your color analyst. More photos can help, but quality is more important than quantity.
Can I take photos in a car?
No, taking photos in a car is not recommended. The glass windows and interior lighting create reflections and color casts that distort your skin tone. The environment is uncontrolled and unpredictable. Always take photos in a stable, well-lit indoor space with natural light.
What if my skin looks different in the photos than in real life?
This is a common issue caused by poor lighting or camera settings. Review your photos on a computer screen to check for color accuracy. If your skin looks too red, too yellow, or too blue, adjust your lighting and retake the photos. The goal is to capture your true skin tone, not a stylized version of it. If you are unsure, ask the analyst for feedback on your test photos.
Next Steps for Your Analysis
Once you have prepared your photos, you can proceed with booking your session. ATX Color Studio provides detailed preparation guides to help you capture the perfect images. Our team reviews each photo carefully to ensure accuracy. If your photos do not meet the requirements, we will contact you to request new ones. This process ensures that your analysis is based on the most accurate data possible. To begin your journey, book your virtual color analysis today. We look forward to helping you discover your true colors.