

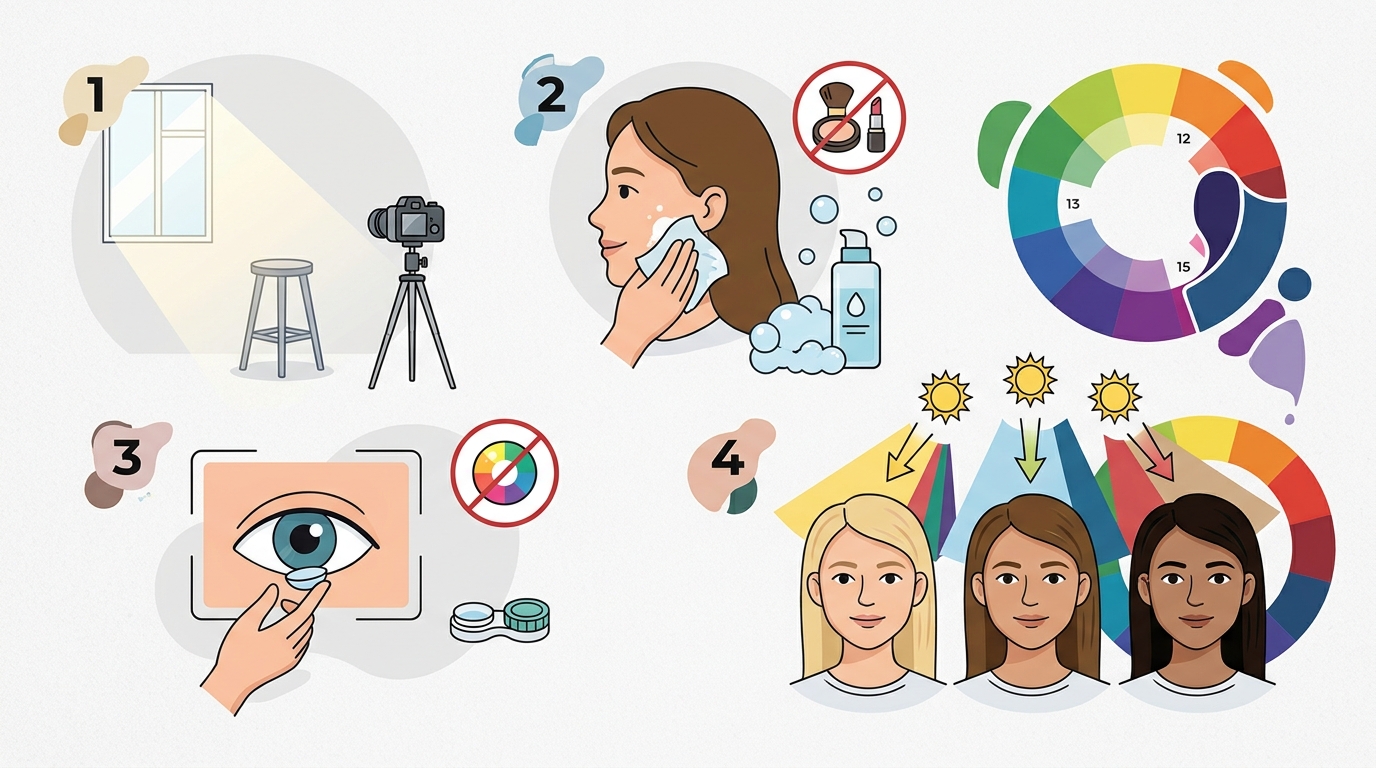
Accurate virtual color analysis depends entirely on the quality of the images you submit. To ensure precision, you must photograph yourself in natural, diffused daylight without makeup, filters, or colored contact lenses. Your skin tone, depth, and contrast must be visible and unaltered by digital processing. ATX Color Studio relies on these high-fidelity images to determine your specific seasonal palette using advanced draping techniques.
Why Lighting Is the Most Critical Factor
Lighting is the single most important variable in virtual color analysis. Artificial light sources, such as overhead bulbs or ring lights, often cast colored tints that distort your true skin undertone. A warm bulb can make cool skin appear golden, while a cool LED can make warm skin look ashen. This distortion can lead to an incorrect seasonal classification, rendering the entire analysis useless.
The ideal environment is a room with large windows that provide soft, diffused daylight. You should stand facing the window so the light hits your face evenly. Avoid direct sunlight, which creates harsh shadows and overexposed highlights that hide subtle skin tones. If you are shooting in the morning or late afternoon, the light is often too warm or too cool. Mid-day light is generally the most neutral and reliable for color assessment.
At ATX Color Studio, we emphasize that lighting consistency is non-negotiable. If your photos are taken under different lighting conditions, it becomes impossible to compare your skin against the drapes accurately. Consistency ensures that the analyst can see the true interaction between your skin, hair, and eyes.
Eliminating Makeup and Tinted Products
Makeup is the primary obstacle to accurate virtual analysis. Foundation, concealer, blush, and bronzer all alter the perceived value and chroma of your skin. Even a light layer of tinted moisturizer or sunscreen can shift your undertone. To get an accurate result, you must remove all facial makeup before taking your photos. This includes lip products, as they can affect the overall color balance of your face.
Self-tanners and spray tans are equally problematic. These products add a layer of pigment that masks your natural skin depth. If you have recently used a self-tanner, you should wait until it has fully faded before submitting photos. Colored contact lenses must also be removed. Even subtle tints in contacts can change the perceived color of your irises, which is a key factor in determining your season.
By removing these variables, you allow the analyst to see your natural coloring. This transparency is essential for the 23-Season Color Analysis method, which relies on precise visual observation of your natural features.
Camera Settings and Digital Processing
Modern smartphones and cameras automatically adjust white balance, exposure, and saturation to make images look "better." These automatic adjustments are the enemy of color accuracy. You should disable any automatic filters or beauty modes on your camera. If your phone has a "portrait" mode that blurs the background or smooths skin, turn it off. You want a raw, unedited image that captures your skin exactly as it is.
White balance is a specific setting that controls the color temperature of your image. If your camera is set to "Auto," it may shift the colors to compensate for the lighting. Ideally, you should set your white balance to "Daylight" or "Cloudy" if you are shooting near a window. If you are using a professional camera, use a gray card to set a custom white balance. This ensures that neutral grays appear neutral in your photo, providing a baseline for accurate color assessment.
Resolution also matters. Your photos should be high-resolution enough to see the texture of your skin and the detail in your eyes. Low-resolution images may be pixelated, making it difficult to discern subtle undertones. Aim for the highest quality setting available on your device without applying any compression or editing.
Required Photo Angles and Composition
Virtual color analysis requires a specific set of photos to capture all necessary details. You typically need a front-facing headshot, a profile shot, and a three-quarter view. Each angle provides different information about your contrast and depth. The front-facing shot shows your overall color harmony, while the profile shot reveals the depth of your skin and the intensity of your eyes.
Composition is equally important. Your face should be the primary focus of the image, taking up a significant portion of the frame. Avoid cluttered backgrounds, as busy patterns or bright colors can distract from your features. A plain, neutral background, such as a white or light gray wall, is ideal. Ensure that your hair is pulled back or styled in a way that does not obscure your face or neck. The neck area is crucial for assessing skin depth and undertone, so it must be clearly visible.
At ATX Color Studio, we provide specific guidelines for photo submission to ensure that you capture all necessary angles. Following these guidelines helps us provide a more accurate and detailed analysis.
Common Mistakes to Avoid
Many clients make simple mistakes that compromise their virtual analysis. One common error is taking photos in a bathroom with fluorescent lighting. Fluorescent lights often have a greenish or bluish tint that is difficult to correct in post-processing. Another mistake is using a flash, which creates harsh shadows and overexposed highlights. Flash is rarely useful for color analysis because it flattens the image and hides subtle skin tones.
Another frequent error is editing the photos after taking them. Even minor adjustments to brightness, contrast, or saturation can alter your perceived season. Do not use any editing apps, including those that offer "natural